
The booking form for hiring the hall is implemented using the Contact Form 7 plugin and an associated Contact Form Entries plugin. The Contact Form 7 plugin defines the form for submitting a hall booking request and the configuration of confirmatory emails to the bookings administrator and person making the booking. The Contact Form Entries (CRM) plugin stores each booking in a table accessible from the web site dashboard.
Handling a New Booking
| If you login to the web site and look down the left hand dashboard icons you’ll see the CRM Entries one near the bottom. Click on this to select the CRM page. |  |
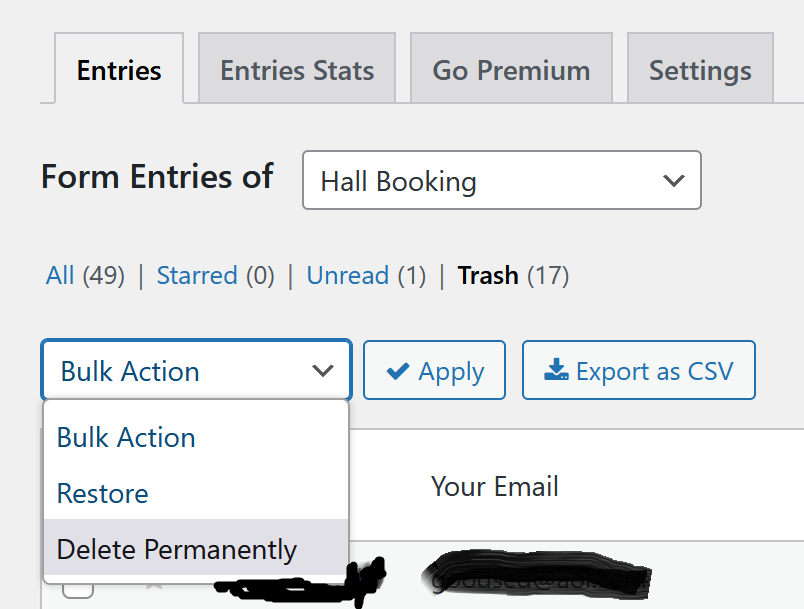
| On the main CRM page use the Form Entries of dropdown list to select the entry for the Hall Booking. | 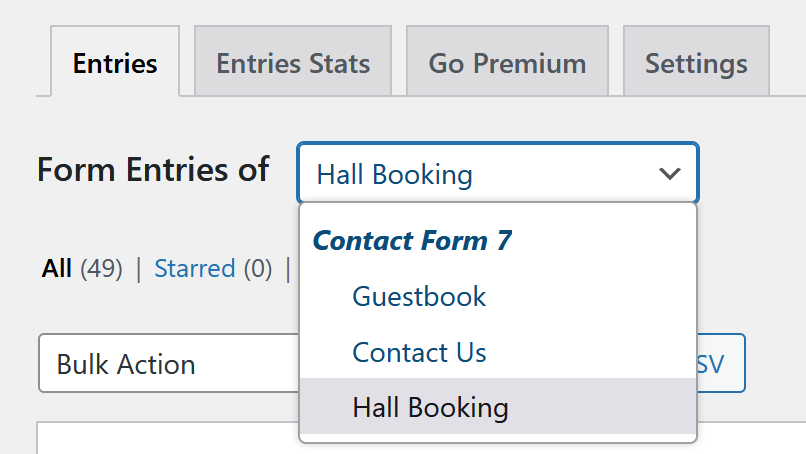 |
|
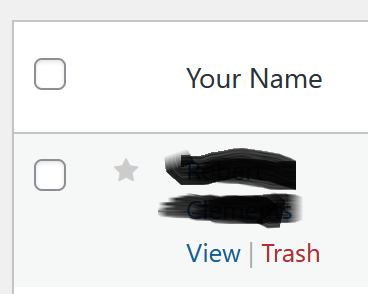
When you have selected Hall Booking you will see a summary table of all the hall bookings. If you hover over a given entry a View link will appear for viewing the full details of the booking request. A Trash link also appears to move the entry to the waste bin (it won’t be deleted from there so a booking can be recovered if needed). The newest bookings will be shown at the top of the table and the first steps to take for a new booking are to:
|
 |
|
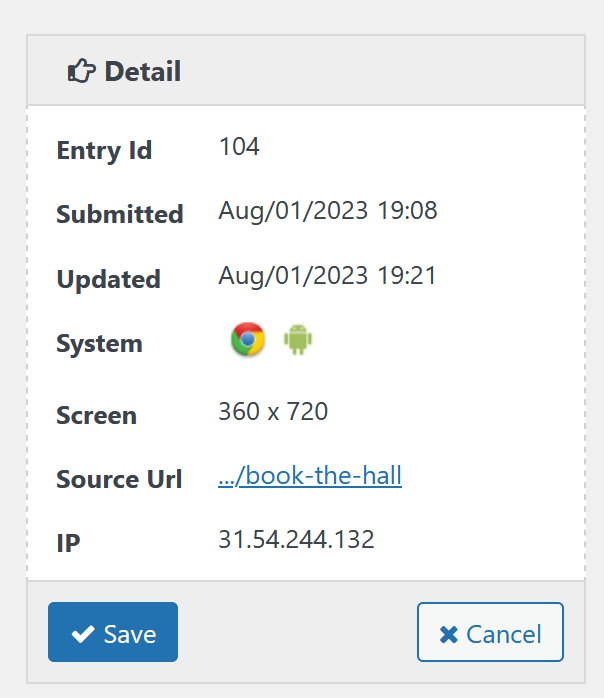
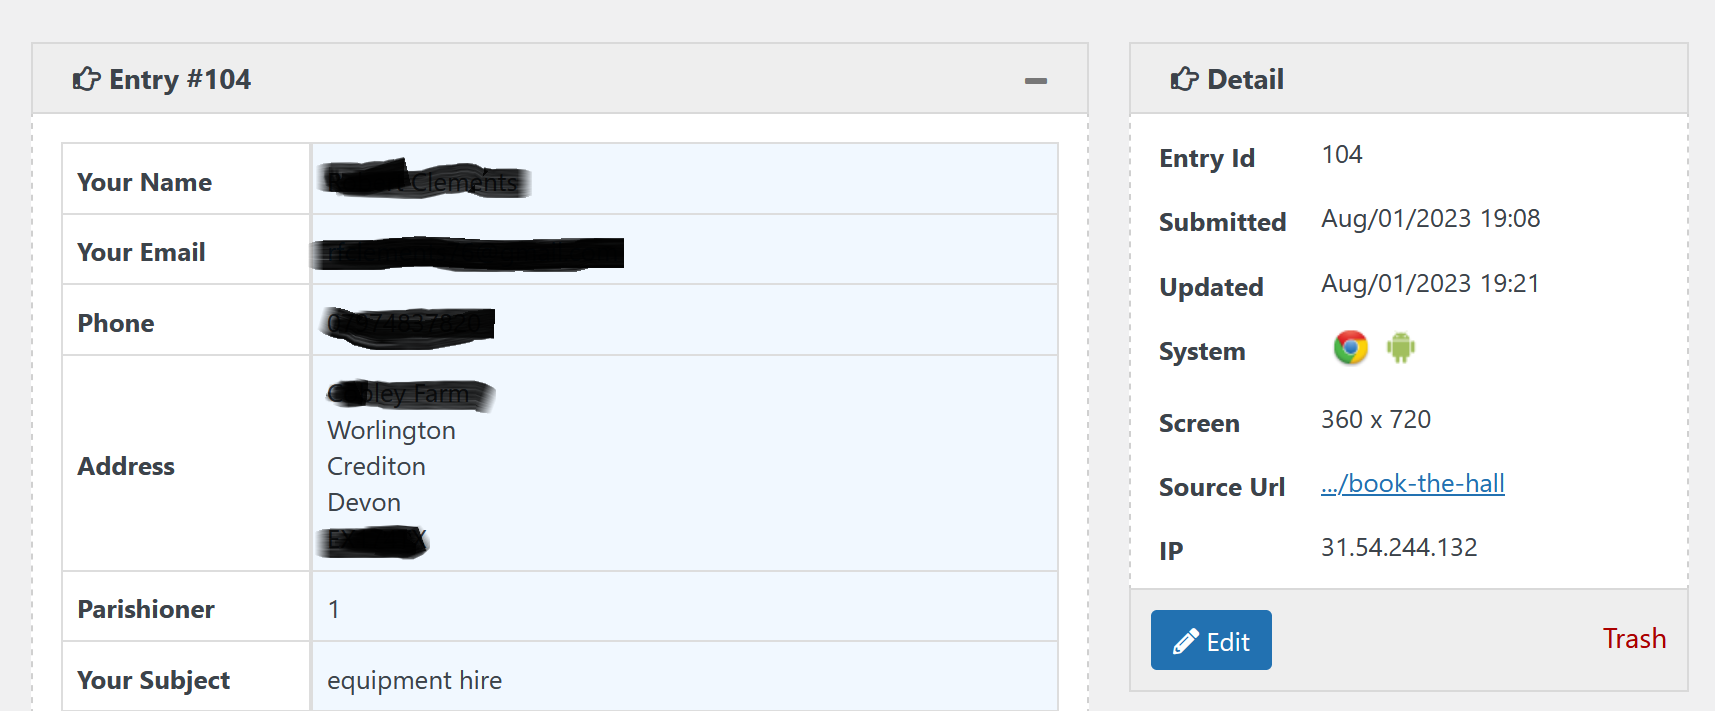
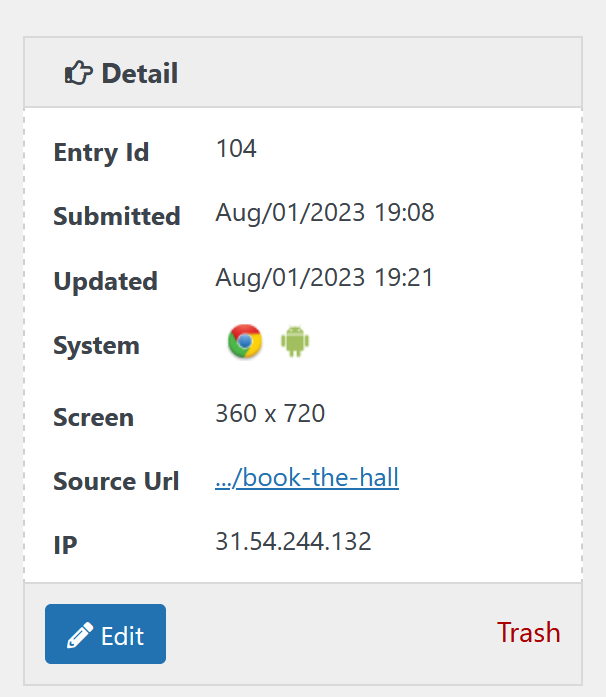
To update any entry click on the View button for the row for the entry you want to examine or change and on the details page click on the Edit button part way down on the right hand side.
|
|
|
The Status field near the bottom of the page is used to track the booking as it goes from requested, to confirmed and eventually pad. |
 |
|
Make the changes you want and click on Save, you can always use the Cancel button to discard your changes if you make a mistake. |
 |
Invoice Management
We’ve provided a hall booking Status field which initially has the values:
- Requested
- Confirmed
- Invoice issued
- Invoice paid
- Invoice overdue
- Cancelled
The suggestion is that the treasurer can, if they so require, update the status to track whether a give hire has been invoiced and paid for. This way anyone can view the paid/unpaid status of a booking. Additional status values can be added and the treasurer may choose to handle invoicing differently and not use this feature.
Booking Lifecycle
|
Once a booking event has taken place and the invoice paid there is no need to keep the booking in the table shown on the Hall Booking page. Use the Trash link in the Details box shown to the right of the entry information. Similarly events that are cancelled can have their status set to Cancelled and move to the Trash area. Don’t forget to mark the event on the calendar as cancelled (preferred) or just remove the entry from the calendar. |
 |
|
Entries moved to the Trash area will remain in the system but can be permanently removed. On the CRM main page:
|
 |
Adding a Calendar Entry
Open the Parish Hall Google Calendar. You can use this Google Calendar link or go to the Hall Home page and click on the coloured + Google Calendar link at the bottom of the Event Calendar button (on the right of the first row).
On the calendar page go to the Settings icon ( top right near your picture), click on the icon and choose Settings from the drop down list.
To set the event colour click on the pencil icon and update the colour swatch next to the name of the calendar (about half way down the screen on the left).
The colours we use are:
-
Yellow – Parish hall bookings e.g Pilates, Craft Group
-
Red – Parish Hall Events e.g Brunch, Pub Night
-
Green – Community Event e.g church functions
Click on the Save button (top right) to save your changes.